Handmade fabric headbands are having a moment—and not just because they’re cute. These trendy little accessories are easy to make, beginner-friendly, and surprisingly profitable. Whether you’re looking to start a side hustle, grow your booth sales, or finally turn that crafting obsession into cash, hand-stitched headbands are a brilliant place to start.
In this post, I’ll walk you through everything you need to know to create and sell your own hand-stitched headbands—from sourcing the right fabrics to pricing, packaging, and even what actually sells at craft fairs. I’m also linking to some helpful Amazon supplies to make this whole DIY-to-profit journey easier for you.
Let’s dive in!
📌 Why Hand-Stitched Fabric Headbands Sell Like Crazy
The market for accessories that are stylish, handmade, and affordable is huge—and headbands check all three boxes. Here’s why they’re a win:
- Low-cost to make
- High markup potential
- Tons of room for creativity
- Trendy with women, teens, and kids
- Lightweight and easy to pack/display
Not to mention, they look great in a farmers market setting and make the perfect impulse buy. And the best part? You can make them in batches while binge-watching your favorite show.
🧵 Supplies You’ll Need to Make Fabric Headbands
Before you get stitching, let’s talk tools. Here’s what I recommend getting started, with Amazon links to make your supply run easy:
| Supply | Purpose | Amazon Link |
|---|---|---|
| Fabric (cotton, linen, knit) | Soft, breathable material | Buy cotton fabric bundles |
| Needle and thread | For hand-stitching | Buy assorted hand sewing needles |
| Elastic band (1/2 inch) | To keep headband snug | Buy elastic rolls |
| Fabric scissors | Clean cuts | Buy fabric scissors |
| Pins or clips | Hold fabric in place | Buy sewing clips |
| Measuring tape | Sizing accuracy | Buy soft measuring tape |
| Iron & ironing board | Flatten seams | Buy mini craft iron |
You can also grab a simple headband sewing pattern online or create your own with a paper template.
✂️ How to Make Hand-Stitched Fabric Headbands (Step-by-Step)
Here’s how to make a basic gathered headband with elastic:
1. Cut Your Fabric
- Main band: 18–20 inches long x 3–4 inches wide
- Elastic casing: 7 inches long x 2 inches wide
Use fabric that matches your brand—think floral prints, solids, boho patterns, or kid-friendly designs.
2. Fold and Sew
- Fold both fabric pieces lengthwise, right sides together
- Sew along the long edge to create tubes
- Turn right side out using a safety pin or turning tool
3. Press and Finish
- Press both tubes flat with your iron
- Thread elastic through the smaller casing
- Attach the elastic band to both ends of the main band
- Stitch securely by hand with a whip or ladder stitch
Optional: Add little tags or embellishments for branding.
💡 Smart Tips to Make Yours Stand Out (and Sell Better)
You don’t need to reinvent the headband—but you do need to make yours stand out. Here’s how:
1. Stick to a Niche or Theme
People love curated collections. Try:
- Boho Vibes: Earthy tones, florals, linen texture
- Kids Line: Bright colors, animal prints, smaller sizing
- Mom & Me Sets: Matching designs for parents and kids
2. Use Quality Stitching and Finishes
Hand-stitching can look charming—if it’s clean and consistent. Practice invisible stitches and make sure your seams are straight.
3. Bundle & Upsell
Offer bundles like “Buy 3 for $25” or bundle with matching scrunchies or face cloths.
4. Seasonal Designs
Create batches based on seasonal colors or events—like fall plaids, summer brights, or Christmas themes.
5. Custom Orders
Allow buyers to choose their fabric for custom orders—this works especially well if you post your crafts on Etsy or Instagram.
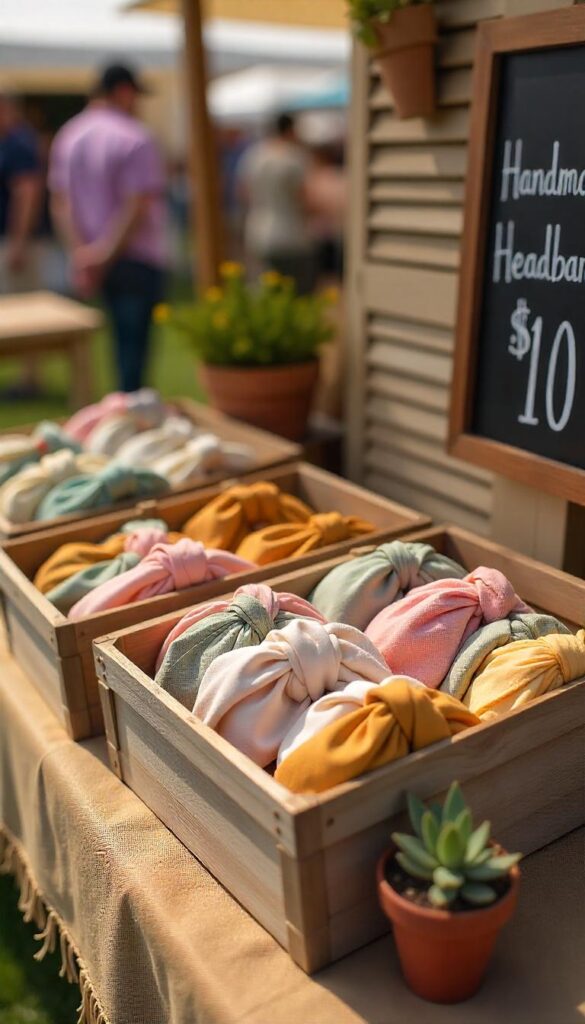
🎨 Displaying Headbands at Your Booth or Market
Presentation sells. Here’s how to make your booth scream “I’m worth stopping for.”
✅ Display Ideas:
- Vintage crates lined with fabric
- Pegboards with hooks or mini clothespins
- Tiered baskets or trays
- Wooden head forms or mannequin heads (adds perceived value!)
Add signage like:
- “Hand-Stitched with Love 💕”
- “Market Special: 3 for $25!”
And always, always display your best sellers front and center.
💰 How to Price Your Fabric Headbands for Profit
Let’s break down the math for one headband:
| Item | Cost per Unit |
| Fabric | $0.75 |
| Elastic | $0.10 |
| Thread | $0.05 |
| Packaging | $0.30 |
| Total Cost | $1.20 |
Suggested retail price: $8–$12 per headband depending on your market. That’s a solid profit margin.
Bundle deals, limited editions, or gift sets can help increase your average sale.
🚚 Selling Online vs. In Person
Both have perks. Here’s what to consider:
| Selling Method | Pros | Cons |
| Local Markets | Instant cash, customer feedback, community feel | Setup time, weather-dependent |
| Etsy or Website | Passive sales, global reach | Fees, shipping prep |
| Social Media | Free marketing, custom orders | Time-consuming to manage |
Smart move? Do both. Start local, validate your styles, and scale online.
📦 Packaging Ideas That Feel Handmade (Without Being Pricey)
Don’t overthink this—but don’t skip it either. Simple, beautiful packaging makes a difference.
- Kraft paper belly bands with your logo
- Small paper bags or glassine envelopes
- Stickers that say “Thank You” or “Handmade”
Here’s a great affordable sticker set on Amazon that adds a sweet finishing touch.
🧠 Final Thoughts: Why This DIY Is Worth Your Time
Hand-stitched fabric headbands are more than just a craft—they’re a smart, scalable way to start earning from your creativity. They don’t take much space, they’re inexpensive to make, and they sell well both in-person and online. Even better? You can turn this into a fun weekend hustle or a full-on brand if you want.
Whether you’re aiming for some extra income or a fulfilling side gig, these headbands are a great way to test the waters—without drowning in overhead.
You’ve got the skills, now let’s make the sales.
💬 What’s Next?
Want more DIY craft ideas that actually sell? Be sure to check out my full roundup post here: 20 Summer Crafts You Can Make and Sell at This Year’s Market.
And if you make your own headbands—tag me on Pinterest or Instagram! I’d love to cheer you on. 💛
As an Amazon Affiliate, I earn from qualifying purchases at no extra cost to you.
Leave a Reply