Updated July 2026
Disclosure: As an Amazon Affiliate, I earn from qualifying purchases at no extra cost to you!
I hate throwing away a good pair of jeans.
Even when they’re too worn to donate, the denim usually still has plenty of life left in it.
Years ago I started saving old jeans because I knew there had to be a better use for them than sending them to the landfill.
‘ve always enjoyed finding ways to decorate our home without spending a fortune. If you’re looking for more budget-friendly decorating inspiration, you might also enjoy my article on decorating your home on a budget without it looking cheap.
That’s when I decided to make my own braided denim rug.
It took patience, but the finished rug became one of my favorite handmade projects. If you’ve been wondering how to make a braided denim rug from recycled jeans, I’ll walk you through every step I used.
Can you make a braided rug from old jeans?
Yes.
Old denim is one of the best fabrics for braided rugs because it’s durable, inexpensive, and easy to find. The project takes time, but the finished rug can last for years.
Turn your old jeans into a durable, rustic-chic rug you’ll love walking on—barefoot style!
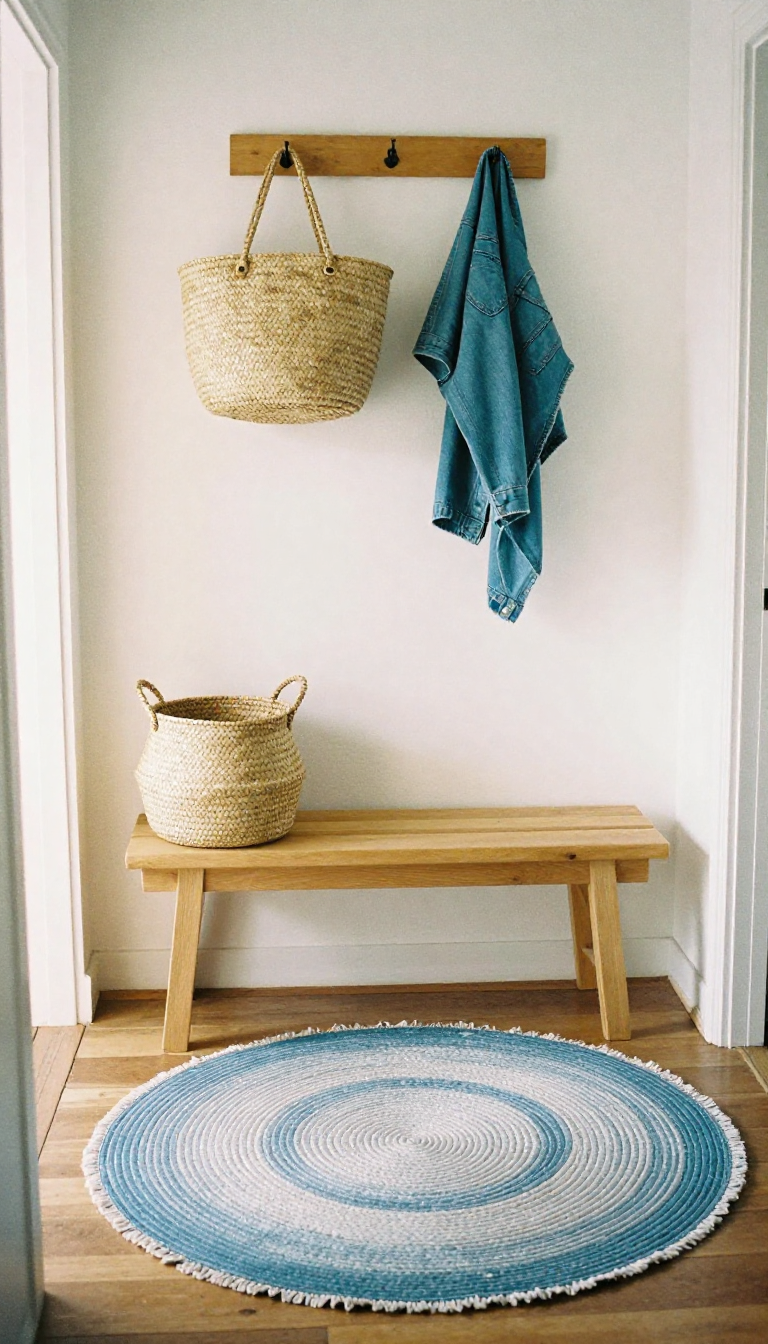
At a Glance
| Detail | Info |
|---|---|
| Skill level | Beginner |
| Time required | 3–6 hours |
| Materials | Old jeans, scissors, thread |
| Cost | Almost free |
| Best placement | Entryway, laundry room, cabin |
How Many Jeans Do I Need?
This depends on the size you’re making, but here are realistic estimates (not fantasy math):
- Small (about 2 ft / 60 cm round): 4–6 pairs of jeans
- Medium (about 3 ft / 90 cm round): 8–10 pairs of jeans
- Large (about 4 ft / 120 cm round): 12+ pairs of jeans
Style tip: Mix light + dark denim for a more “designer” look, or stick to one tone for a cleaner, modern vibe.
Before You Begin
Explain:
- wash the jeans
- remove heavy seams
- choose similar-weight denim
- darker and lighter denim create nice variation
One thing I’ve learned over the years is that handmade projects don’t have to be perfect to make a room feel warm and inviting. That’s something I always keep in mind when decorating our home. You may like this article about home decor inspiration.
A braided rug can start laying flat and then slowly evolve into a denim serving platter if you’re not careful. Here’s how to keep it cute:
- Keep your braid relaxed. Tight braids = curling rug.
- When coiling, attach the edges of the braid, not the center.
- Press bulky seams flat so you don’t end up with random lumps.
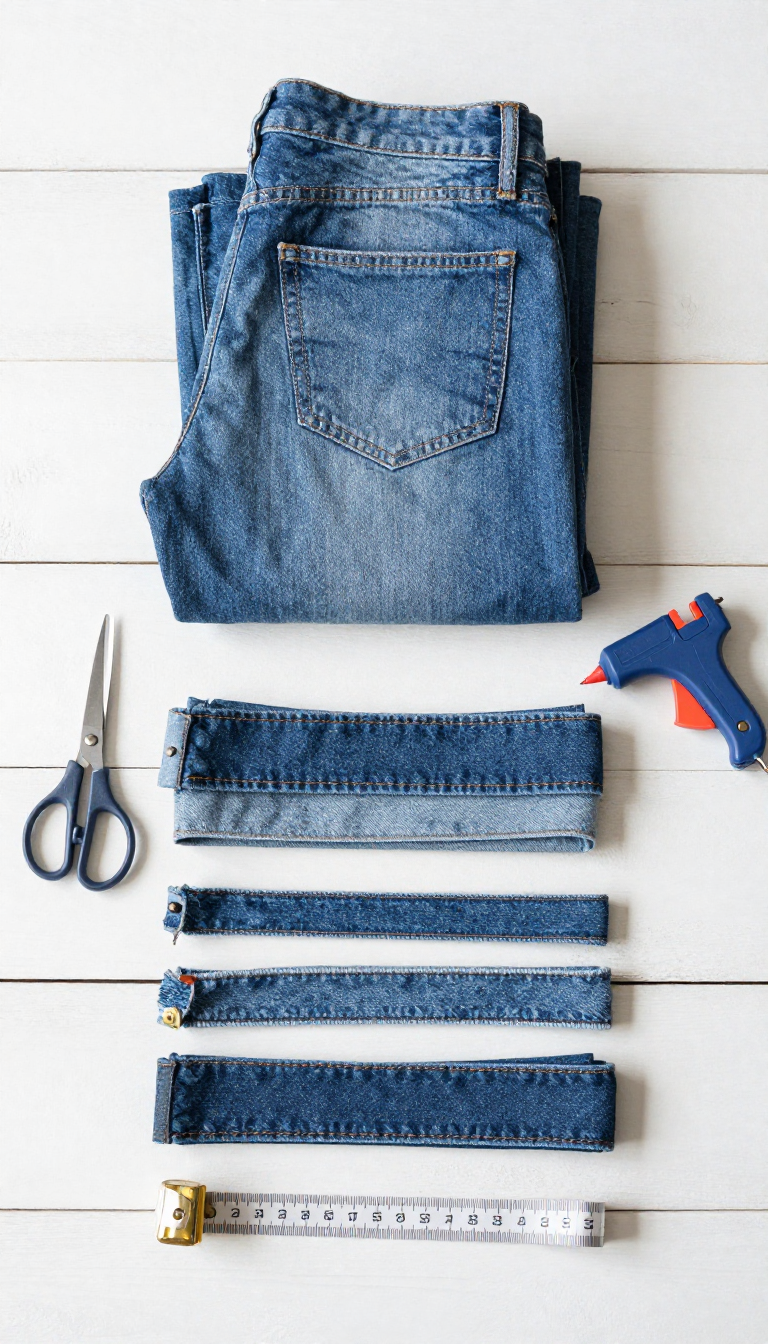
🧵 What You’ll Need:
- 5–8 pairs of old jeans (more for a larger rug)
- Fabric scissors or rotary cutter
- Measuring tape
- Safety pins or sewing clips
- Heavy-duty thread and needle (or sewing machine, optional)
- Hot glue gun (optional for extra stability) or tacky glue
- Rug gripper mat or non-slip backing (optional but helpful)
- Time and a good podcast—you’ll be braiding for a bit.
✂️ Step-by-Step Instructions:
1. Cut Your Denim Into Strips
- Cut each jean leg into strips about 2 to 2½ inches wide.
- Don’t worry if every strip isn’t identical, but try to stay close to the same width. Consistent strips create a flatter finished rug and make braiding much easier.
- Remove bulky seams whenever possible because they create lumps later.
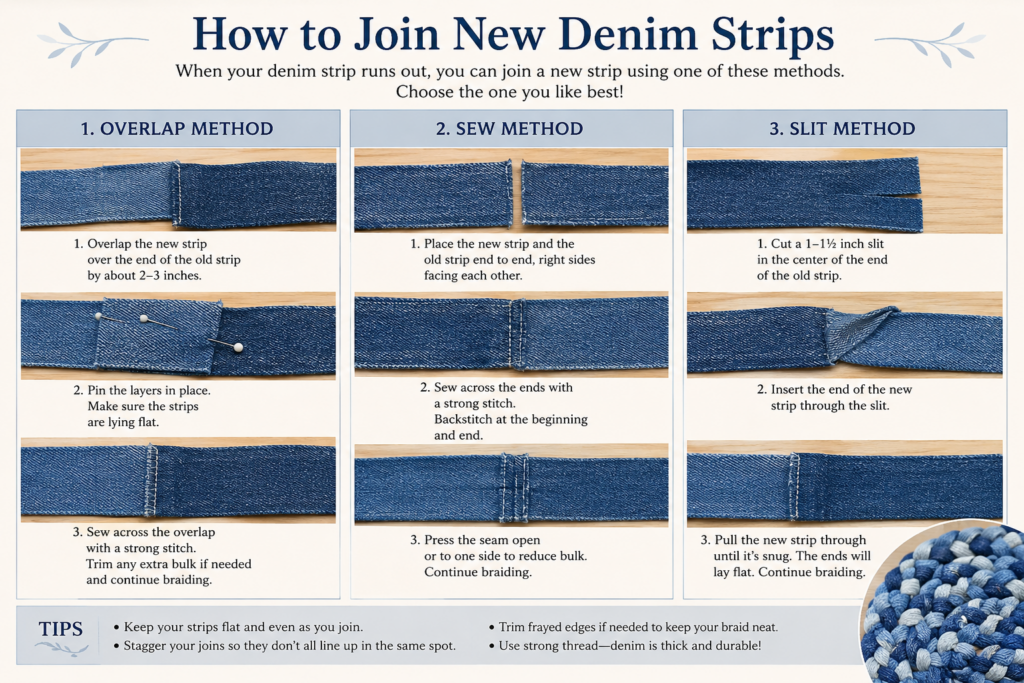
2. Join the Strips
- Connect strips by overlapping the ends and sewing a small zigzag stitch or using a secure glue bond. You can also cut small slits in each end, loop one through the other, and pull tight (like a slipknot).
Projects like this remind me that some of the most satisfying home décor pieces are the ones we make ourselves rather than buy. I always enjoy finding simple DIY projects that add personality to a home. You make want to check out this article about making your own DIY bug spray.
3. Make Your Braids
- keep tension even
- don’t braid tightly
- denim stretches very little
- uneven braids make wavy rugs
4. Shape the Rug
- Once you have a long, continuous braid (this takes some time, but it’s therapeutic!), start coiling it into your desired rug shape. Most people go with a circle or oval.
- As you coil, stitch the braid together by hand using a sturdy needle and thread. Go through the edges of the braids, not the middle, to keep the rug flat.
Optional: Use hot glue in between braids while stitching for added hold.
5. Finish the Ends
- Once your rug is the size you want, neatly tuck the tail of the braid underneath the rug and stitch it in place.
- If you want a super clean finish, you can wrap the end in a piece of denim and sew it shut before hiding it.
6. Add a Non-Slip Backing
- To keep your denim rug from sliding around, use rug gripper pads or hot glue lines across the back to create grip.
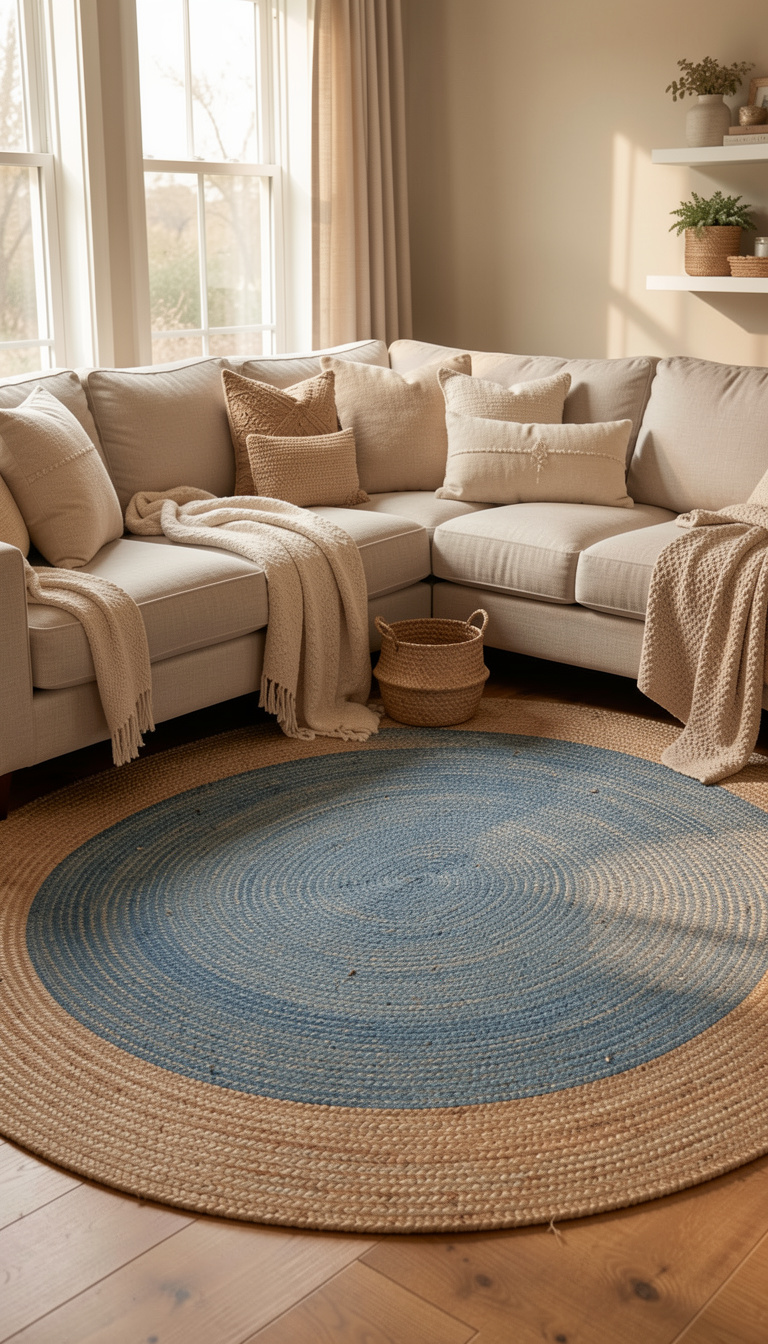
Pro Tips for a Better Denim Rug
- Use multiple denim shades for a more designer look
- Braid tightly so the rug doesn’t curl
- Pin your braid to a pillow or cushion to keep tension steady
- Use upholstery thread so stitches hold long-term
- Wash the rug once finished to soften the fabric
Common Mistakes When Making a Denim Rug
1. Cutting strips too narrow
Thin strips make the rug floppy.
2. Twisting the braid
Twisted braids cause the rug to curl.
3. Using weak thread
Denim is thick — use heavy-duty thread.
4. Not adding non-slip backing
Without it the rug can slide.
Common Braided Rug Problems
My Rug Won’t Lay Flat: Usually the braid is being pulled too tightly.
My rug is curling upward: Loosen the stiches
My braid keeps twisting: Keep the braid flat before sewing each section.
My rug looks uneven: Your denim strips may not all be the same width.
How Many Pairs of Jeans Do You Need?
Approximate guide:
Small mat:
2–3 pairs
Runner:
5–7 pairs
Large area rug:
10–15+ pairs
If you love easy DIY decor projects like this, you might also enjoy my guide to painted terracotta pots you can make and sell.
Modernizing Your Braided Denim Rug for 2026!
Braided denim rugs have always been a charming, sustainable DIY, but in 2026, we’re taking them to the next level. This year, it’s all about mixing materials, adding texture, and creating a designer-inspired vibe — all without breaking the bank. Whether it’s your first rug or a refreshed version of an old favorite, these twists will make your rug Pinterest-worthy and irresistible.
✂️ 1. Mix Denim with Neutrals or Textures
Instead of only using old jeans, try combining denim with linen, cotton, or jute. The subtle contrast adds depth, warmth, and a modern “cozy minimalism” look that’s trending for living rooms and bedrooms.
💡 Pro Tip: Alternate strips of denim with off-white or taupe cotton fabric for a layered, elevated feel.
🎨 2. Experiment with Dip-Dye or Ombre Effects
Add a gradient effect to your rug with eco-friendly fabric dye. Ombre denim or muted earth tones create depth and give your rug an artisanal, boho-chic vibe.
💡 Quick DIY Tip: Use a natural indigo or eco dye kit to keep your project sustainable.
🪡 3. Add Fringe or Patterned Edges
2025 embraces intentional imperfection — fringed edges, braided centers, or mixed patterns make your rug feel handcrafted and designer-inspired.
💡 Bonus: Fringe instantly gives your rug a “save-worthy” look on Pinterest.
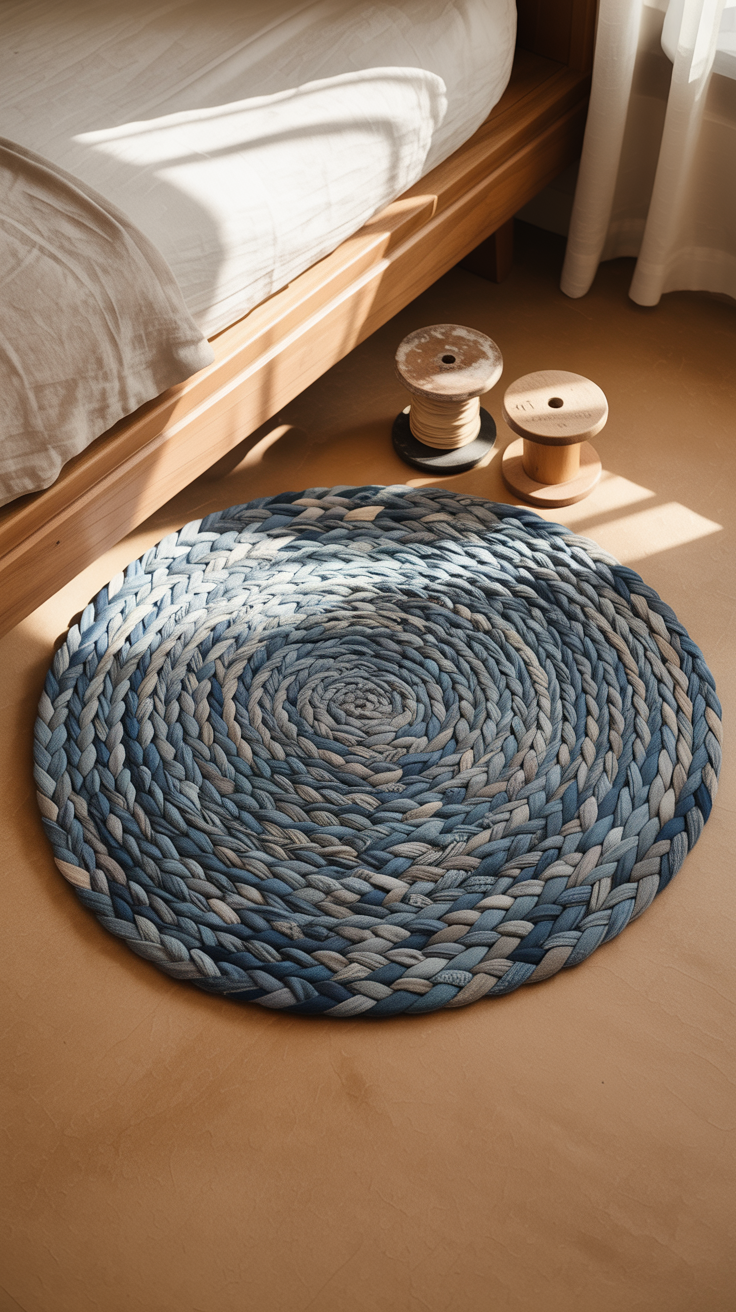
🌿 4. Eco-Friendly Upgrades
Make your rug fully sustainable by choosing organic thread and recycled rug mat backings. It’s the subtle detail that elevates your DIY into a product your readers will be proud to style in their homes.
🏠 5. Styling Tips for 2026
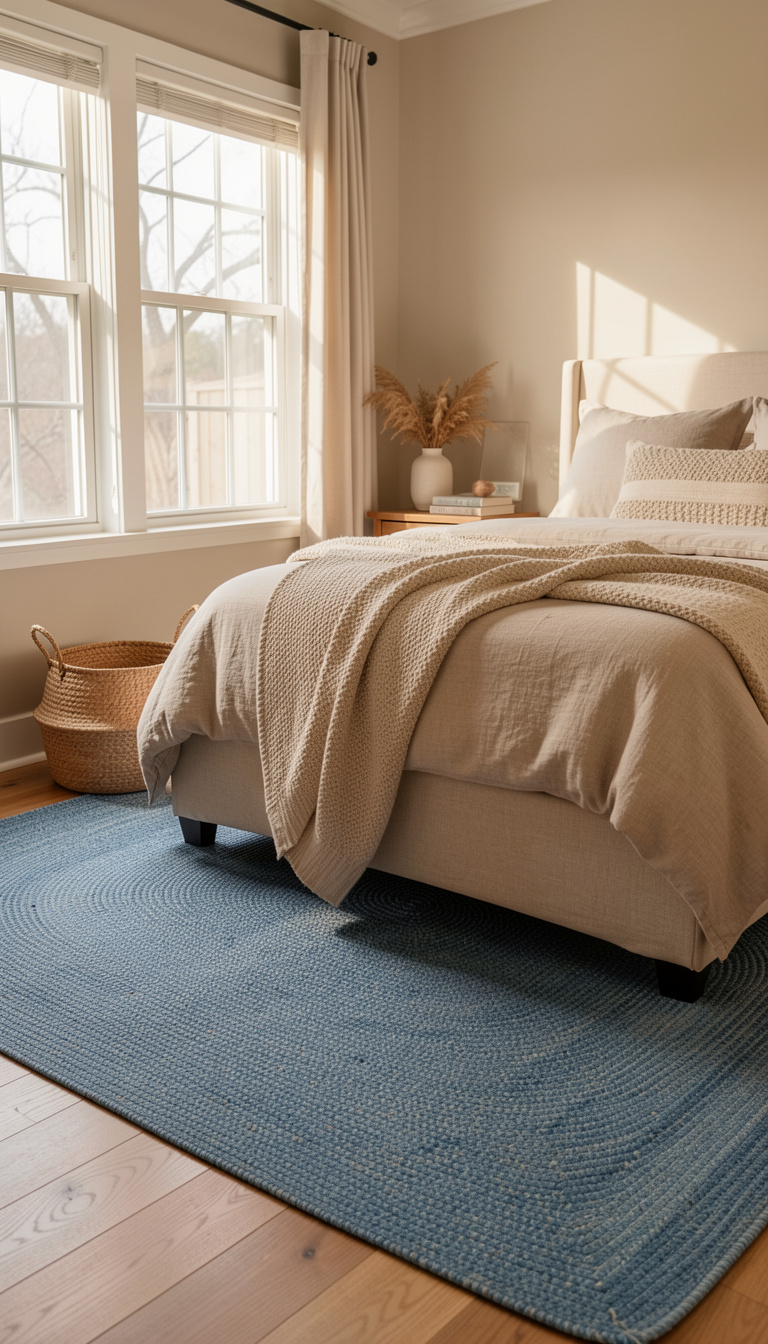
A braided denim rug isn’t just a floor piece — it’s a statement accessory for your home. Try layering it over a neutral jute rug in a reading nook, by a cozy armchair, or at the foot of your bed. Adding textured throws, greenery, and natural wood furniture completes the layered, Pinterest-ready aesthetic.
Click here: 25+ Clever ways to give old jeans a second life!
🎉 Final Thoughts:
Looking back, I’m so glad I didn’t throw those old jeans away. This project definitely took patience, but years later it’s still one of my favorite handmade pieces because every section reminds me that something worn out can become useful again.
If you’ve been saving old denim, I hope this tutorial gives you the confidence to try making your own braided rug.
Looking back, I’m really glad I decided to save those old jeans instead of throwing them away. This braided denim rug took time to make, but years later it’s still one of my favorite DIY projects because it reminds me that beautiful home décor doesn’t have to come with a big price tag.
If you enjoy decorating with meaningful, budget-friendly pieces, you might enjoy some of my other home decorating ideas and DIY projects as well.
- How to Create a Calm, Nature-Inspired Home
- Decorating Your Home on a Budget Without It Looking Cheap
Definitely could have used more pictures of “how to’s”. A picture is worth a thousand words.
Such a great point—thank you! I agree, step-by-step visuals make everything so much easier to follow. I’m definitely working on adding more ‘how-to’ images going forward (and updating posts when I can) 😊”
How do you avoid frayed edges
Great question! Fraying can definitely happen with denim, but there are a few easy ways to prevent it:
Use a tight braid — the tighter the braid, the less the edges are exposed
Choose thicker denim (like old jeans) since it frays less than thin fabric
You can apply a small amount of fabric glue or fray check along the edges before braiding
Sewing the braid securely (either by machine or hand) also helps hold everything in place
A little bit of fraying can actually add to that relaxed, rustic look—but these tips will help keep it more controlled
Please forgive me, I’m not sure what “go with the grain” means. Does that mean starting down at the cuff and cut around the leg of the jeans multiple times so that you have lots of circles and then you cut the seams so they lay flat? Or does it mean starting at the cuff and cutting a strip all the way up to the waist of the jeans?
These are adorable, by the way.
I’m thinking of having our teenage girls from church do them at a youth activity.
Hi Bethany! That’s a great question, and I can see why “go with the grain” wasn’t very clear. I mean starting at the cuff and cutting long strips lengthwise up the leg of the jeans—not cutting around the leg into circles. You’ll want to avoid the thick seams as much as possible.
And thank you! I love the idea of making these with your teenage girls at a youth activity. I hope you have so much fun with it!