Updated for 2026: Storage trends, space-saving vanity ideas, and modern makeup organization solutions.
Keeping your makeup organized shouldn’t feel overwhelming — or require a full bathroom remodel. Whether you’re working with a small vanity, limited drawer space, or a growing beauty collection, the right organization system can completely change how your space looks and functions. From clear acrylic organizers and drawer dividers to simple vanity styling tricks, these makeup organization ideas will help you create a clutter-free setup that’s easy to maintain and actually looks good.
Get Your Vanity Organized Today!
Step 1: Gather and Declutter
Start by pulling out all your makeup from drawers, bags, and forgotten corners. Lay everything out and check expiration dates (yes, makeup expires!). Toss anything expired or that you no longer use.
Pro Tip: Use the Amazon Basics Storage Bins to separate products while sorting. These bins are versatile and sturdy—perfect for decluttering.
Step 2: Clean Your Products and Tools
Before putting everything back, give your products a good wipe to remove dust and makeup residue. Don’t forget to clean your brushes!
Must-Have: The StylPro Makeup Brush Cleaner cleans and dries your brushes in seconds. Say goodbye to messy sink cleaning!
Step 3: Categorize by Product Type
Group your makeup into categories like face, eyes, lips, and tools. This will help you see what you have and avoid buying duplicates.
Organizer Pick: The Acrylic Makeup Organizer has multiple compartments, making it super easy to keep categories separate.
Step 4: Choose Clear Storage Solutions
Clear organizers are a game-changer. They let you see everything at a glance and keep your vanity looking sleek.
Top Pick: The Sorbus Acrylic Makeup Organizer is chic, sturdy, and space-saving.
Step 5: Use Drawer Dividers
If you store makeup in drawers, dividers are essential for keeping things tidy.
Amazon Favorite: The STORi Clear Drawer Organizers are customizable and fit most drawers. They’re perfect for separating foundation, palettes, and more.

Step 6: Prioritize Daily Use Items
Keep your everyday essentials within easy reach to save time.
Great Solution: The Spinning Rotating Makeup Organizer is perfect for quickly grabbing your go-to products.
Step 7: Label Your Storage Areas
Labeling your organizers ensures everything stays in its place.
Handy Product: Use Chalkboard Labels and Pen Sets to add a stylish, personal touch.

Step 8: Utilize Small Item Organizers
Don’t let small items like single shadows or lip balms get lost.
Amazon Pick: The mDesign Compact Storage Organizer works perfectly for lipsticks and tiny items.
Step 9: Keep Products in a Cool, Dry Place
Avoid storing your makeup in humid environments (like the bathroom!) to extend their shelf life.
Storage Suggestion: The Vtopmart Acrylic Organizer with 16 Drawers keeps your products neatly tucked away and protected.
Step 10: Add Functional Accessories
Elevate your makeup space with accessories that make your routine more enjoyable.
Must-Have: A Hollywood Lighted Makeup Mirror provides professional lighting for flawless application.
Step 11: Hang Organizers on Walls
Maximize your vertical space by installing wall-mounted organizers.
Recommended Product: The Wall-Mounted Acrylic Shelf Organizer is ideal for storing palettes and frequently used products.

Step 12: Use Magnetic Boards for Metal Products
Create a stylish and functional display by attaching metal makeup items to a magnetic board.
Amazon Pick: The Magnetic Makeup Organizer Board keeps your essentials within easy reach.
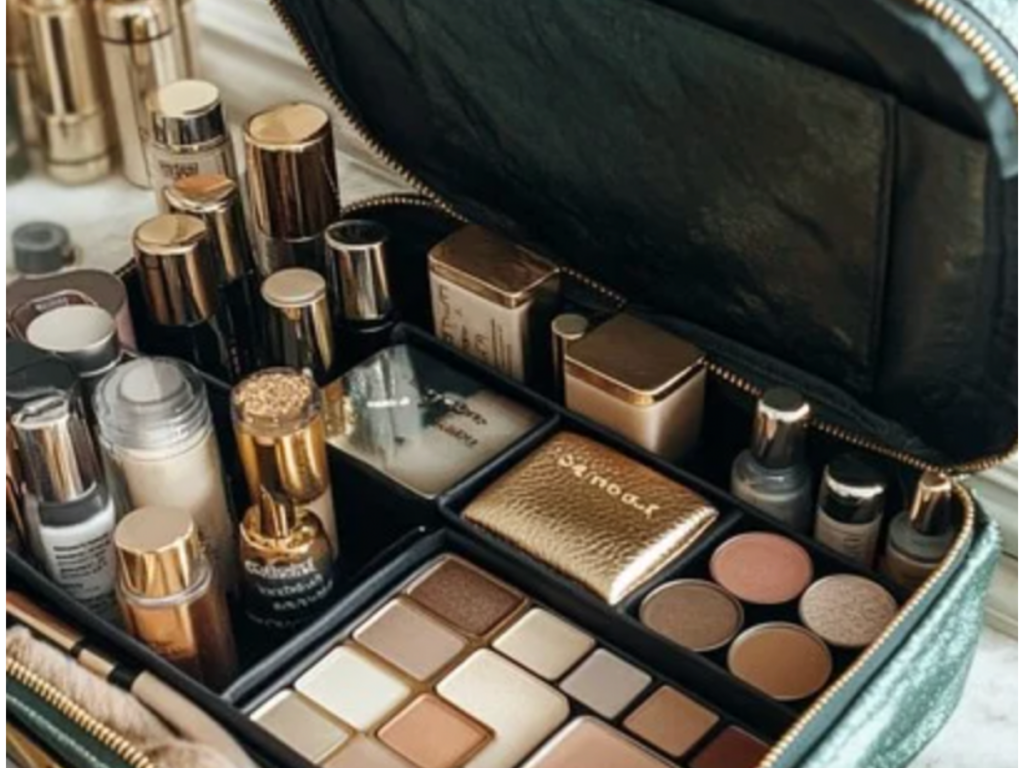
Step 13: Invest in Travel-Friendly Storage
If you’re frequently on the go, having a travel makeup case is essential.
Top Pick: The Relavel Travel Makeup Case features adjustable compartments and protective padding.
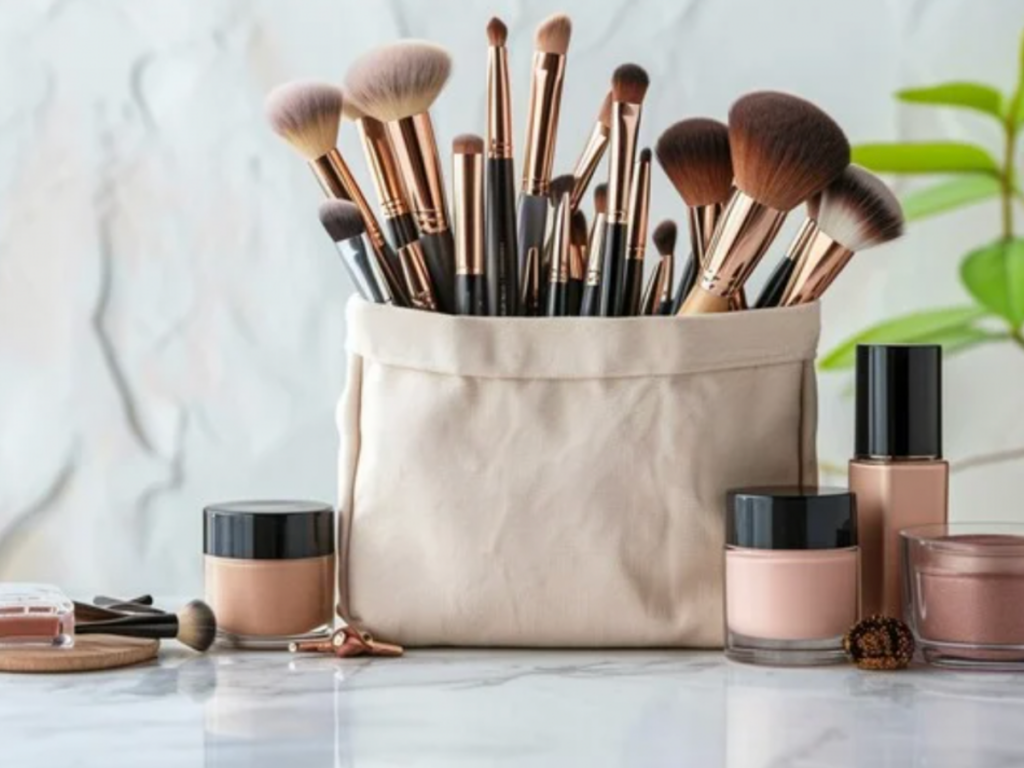
Step 14: Store Brushes Upright
Keep your brushes upright to maintain their shape and cleanliness.
Must-Have: The Anyoifax Makeup Brush Holder is stylish and functional.
Step 15: Use Stackable Containers for Bulk Storage
If you have a large collection, stackable containers help you make the most of your space.
Amazon Favorite: The IRIS USA Stackable Drawer System is perfect for bulk storage.
Step 16: Organize by Color or Season
Get creative by organizing your makeup by color or season.
Fun Tip: Use clear bins like the ClearSpace Storage Bins for this purpose.
Step 17: Incorporate a Vanity Tray
A vanity tray keeps your most beautiful products on display.
Recommended: The Stone Marble Vanity Tray adds a touch of elegance.
Step 18: Keep Cotton Pads and Q-Tips in Jars
Store essential tools like cotton pads in stylish jars.
Top Pick: The Mason Jar Bathroom Set works beautifully for this.
Step 19: Use Drawer Liners to Prevent Slipping
Keep your makeup from sliding around by lining your drawers.
Amazon Pick: The Gorilla Grip Drawer Liner keeps everything in place.
Step 20: Schedule Regular Decluttering Sessions
Make it a habit to reassess your collection every few months.
Pro Tip: Set a calendar reminder and reward yourself with a small treat (like a new lipstick) for keeping things organized.
Get Your Vanity Organized Today!
By following these steps and incorporating these Amazon finds, you can turn your cluttered makeup collection into a beautifully organized space that sparks joy every time you sit down to get ready. Ready to shop and transform your beauty space? Let’s do this!
Save this post for your next decluttering day, and don’t forget to share your organized setup!
As an Amazon Associate I earn from qualifying purchases at no extra cost to you.
Leave a Reply